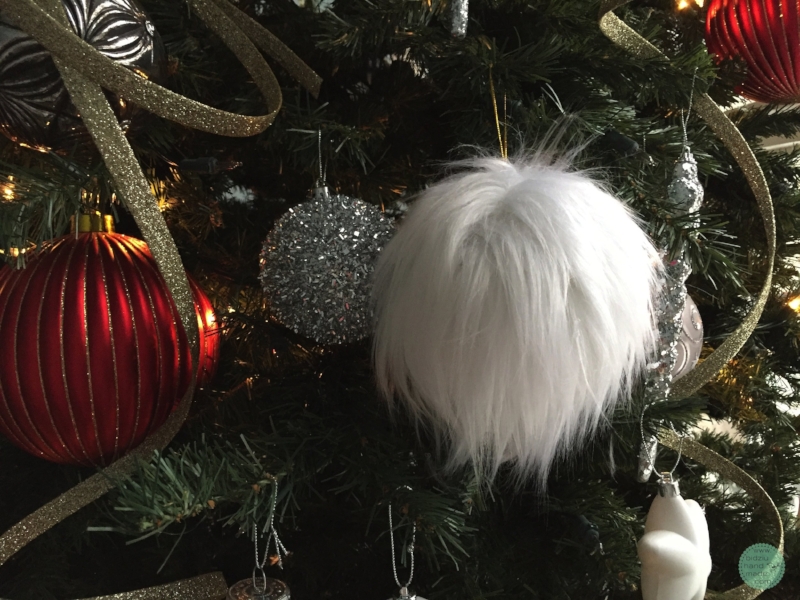
Faux fur Christmas tree ornaments.
Do you have any idea how much fur-covered Christmas tree ornaments cost??!!??!! I was shocked to find out that they can go for as much as $20 EACH!!! And when you have a giant 14-foot tree like we do, you'll require more than just a few to decorate that baby! I was NOT willing to drop a small fortune on just some ornaments! It's super easy making your own and I already had all the supplies kicking around, so here is how I transformed some old Christmas balls into these fabulous furry ones...
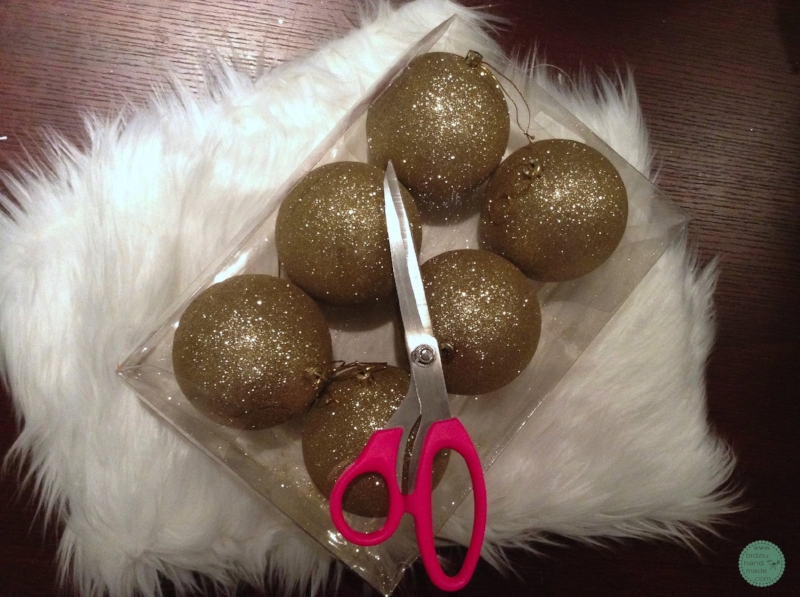
I had snagged some white long-haired faux fur at my local fabric store earlier this season when it was on big sale! I got a whole bunch for $10, which is a steal of a deal! This year I decided to change the colours on our tree so some of the old decorations no longer matched. Some large sparkly gold balls were perfect and ready for their new coats!
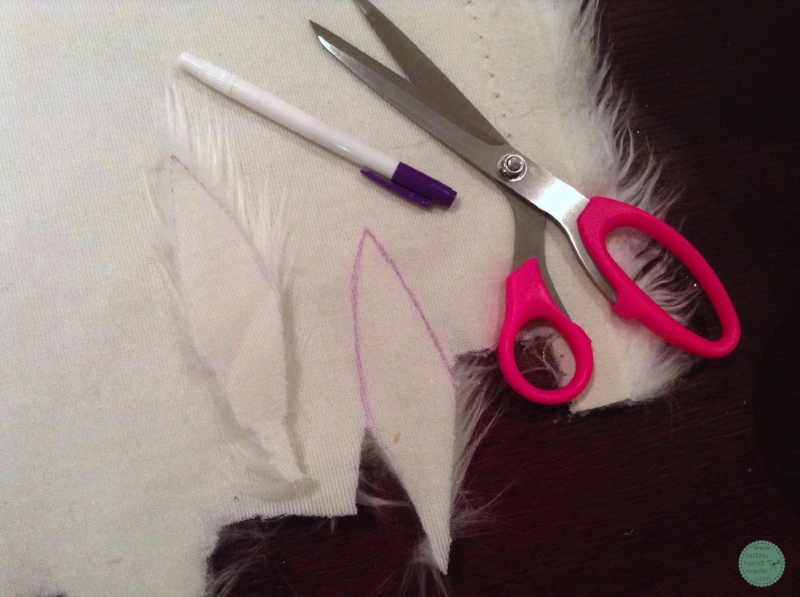
First off, I began by cutting out a bunch of pointed oval shapes out of the faux fur. The length of each shape should equal half the circumference of the ball you are covering. If you are using long-haired fur like I am, you don't have to be super precise here. When you glue them on to the ornament, the long hairs will disguise any imperfections, so don't waste lots of time getting these shapes all perfect.
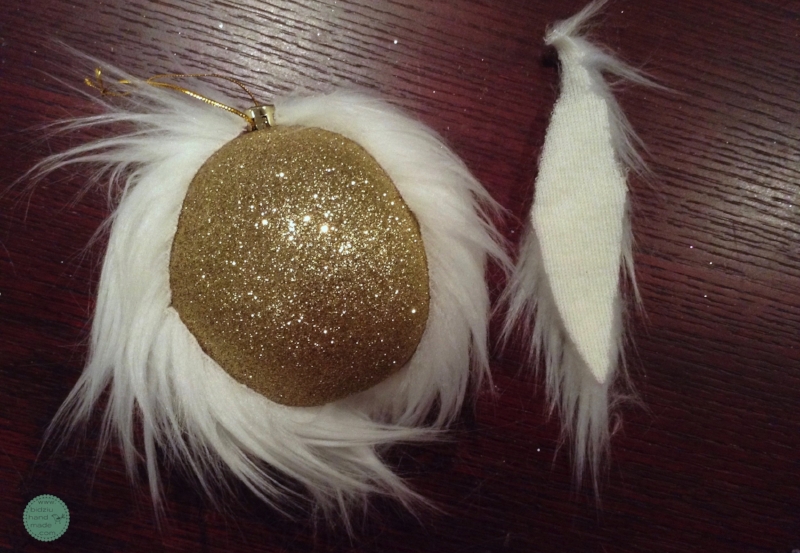
Next, using hot glue, glue the oval shapes to each ball. Place one point of the shape right at the top of the ball and applying it vertically down such that the other point is located at the bottom of the ball. Glue the shapes on right next to each other, with sides touching. When you get a spot that is not even or isn't covered, cut an additional strip of faux fur that will roughly fit into the "missing" space and glue it in.
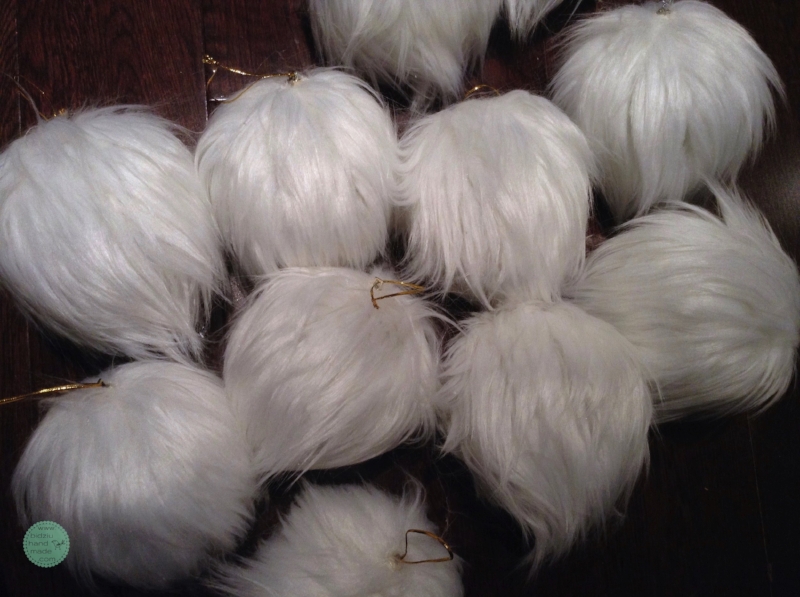
Continue cutting out the shapes and gluing them on until all your balls are covered. And that's it! Easy peasy, right??
And so much easier on the wallet! Especially if you happen to have old ornaments that could use a new look!


